

The single crochet stitch is the most basic and fundamental stitch in crochet. Once you master the single crochet, you can make washcloths, scarves, beanies, and amigurumi plushies. This step-by-step guide is designed to get you stitching with confidence in minutes.
Materials & Tools Required
To follow along with this project, you will need the following materials:
- **Yarn:** Worsted Weight Cotton or Acrylic Yarn.
- **Hook:** Size H-8 (5.0 mm) hook.
- **Skill Level:** Absolute Beginner.
Stitch Abbreviations & Guide
Before beginning, review these common abbreviations used throughout the pattern:
- **CH:** Chain
- **SC:** Single crochet
- **YO:** Yarn over
- **ST:** Stitch
Step-by-Step Instructions
Follow these detailed instructions to complete the project. Keep your stitch counts consistent!
Single Crochet Step-by-Step
Pro Tips for Success & Pinterest Styling
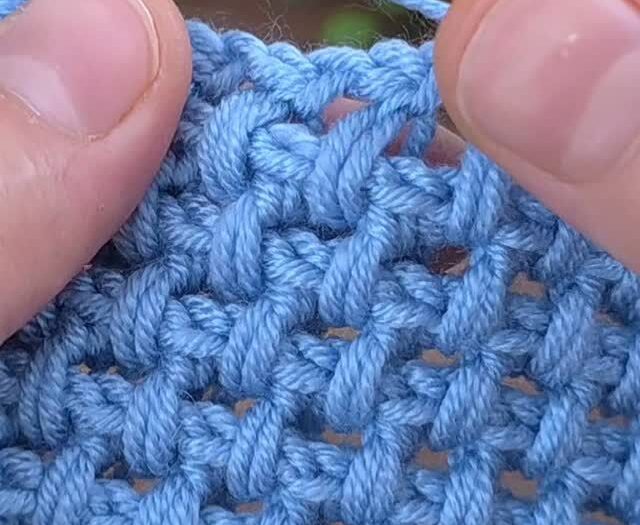
Under Both Loops: Remember to insert your hook under both strands of the ‘V’ on top of the stitch, unless the pattern specifies BLO (Back Loop Only).
Pinterest Share: A clear closeup image showing where to insert the hook (under the ‘V’) is extremely helpful for beginners and highly popular on Pinterest.
Frequently Asked Questions
Q: Why am I losing stitches in each row?
A: Beginners often skip the very last stitch of the row because it looks smaller. Use stitch markers in the first and last stitch of each row to prevent this.
Q: What is the turning chain?
A: The Ch 1 at the end of a row lifts the yarn to the height of the next row.
Conclusion
Mastering this project is a wonderful milestone in your crochet journey. Once you finish, be sure to pin it on Pinterest to save it for your next crafting session and share your beautiful results with the community! Happy crocheting!


")
