

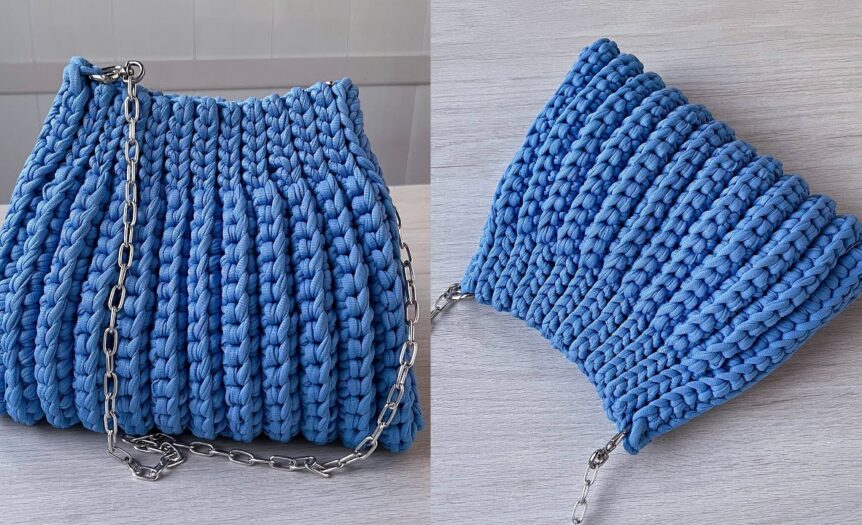
Every crocheter needs a go-to beanie pattern. This design is worked flat as a rectangle and then seamed, making it incredibly simple for beginners who haven’t mastered working in the round. It features a ribbed texture that stretches to fit comfortably and looks highly professional. Perfect for Pinterest winter fashion guides!
Materials & Tools Required
To follow along with this project, you will need the following materials:
- **Yarn:** 1 skein of Category 4 (Worsted Weight) yarn approx 200 yards.
- **Hook:** Size H-8 (5.0 mm) hook.
- **Notions:** Tapestry needle, scissors, pom-pom (optional).
- **Skill Level:** Beginner.
Stitch Abbreviations & Guide
Before beginning, review these common abbreviations used throughout the pattern:
- **CH:** Chain
- **HDC:** Half double crochet
- **BLO:** Back loop only
- **SL ST:** Slip stitch
Step-by-Step Instructions
Follow these detailed instructions to complete the project. Keep your stitch counts consistent!
Beanie Body (Worked Flat)
Seaming and Gathering
Pro Tips for Success & Pinterest Styling
Sizing Tip: Adjust the height of the beanie by changing the initial chain count. Adjust the width (circumference) by adding or subtracting rows.
Pinterest Styling: Take a photo of the beanie being worn, showing the folded brim and pompom clearly. Soft, outdoor, natural lighting is best.
Frequently Asked Questions
Q: How do I make a pom-pom?
A: Wrap yarn around your fingers or a piece of cardboard 100 times, tie a tight string around the middle, cut the loops, and trim it into a ball.
Q: Why is the back loop only (BLO) used?
A: It creates the ribbed ridges that allow the beanie to stretch and mimic knit ribbing.
Conclusion
Mastering this project is a wonderful milestone in your crochet journey. Once you finish, be sure to pin it on Pinterest to save it for your next crafting session and share your beautiful results with the community! Happy crocheting!


")
