Making your own wedding dress is an accessible, creative way to ensure your gown reflects exactly who you are. Even with no prior sewing experience, a simple, beginner-friendly pattern can guide you through choosing fabrics, taking precise measurements, mastering basic stitches, and adding custom details like crochet trim or embroidery. By the end, you’ll have a unique dress—and a story behind every stitch.
Why Choose DIY?
- Personal Expression: Every element—from silhouette to embellishment—is yours to decide.
- Better Fit: Custom measurements mean fewer alterations.
- Cost Savings: Patterns and basic fabrics are often far less expensive than off-the-rack or couture gowns.
- Cherished Keepsake: The time and care you invest become part of your wedding memory.
1. Picking a Beginner Pattern
Start with a design labeled “easy” or “for beginners.” Simple seams and fewer pieces make assembly straightforward.
| Style | Description |
|---|---|
| A-Line | Fitted bodice, gently flared skirt |
| Sheath | Straight cut, minimal shaping |
| Empire Waist | High waistline, flowing skirt |
Tip: Choose A-Line first—its forgiving shape flatters most figures.
2. Selecting Fabric & Notions
Your fabric influences drape, comfort and sewing difficulty. Beginners do best with stable, non-slippery materials.
| Fabric | Qualities | Notes |
|---|---|---|
| Cotton | Breathable, easy to handle | Pre-wash to prevent shrinkage |
| Satin | Smooth, formal finish | Pin carefully to avoid snags |
| Chiffon | Lightweight, flowy | Requires delicate handling |
Also gather matching thread, a zipper or buttons, fusible interfacing and lining as called for by your pattern.
3. Taking Accurate Measurements
Use a soft tape measure, wear similar undergarments, and record:
- Bust: Around fullest part, tape parallel to floor
- Waist: At natural waistline, relaxed breathing
- Hips: At widest point around hips and seat
- Length: From shoulder (near neck) to desired hem (floor or above)
Double-check each measurement before cutting.
4. Mastering Basic Sewing Techniques
Practice these on scrap fabric until comfortable:
- Threading & Winding: Prevents machine jams.
- Straight Stitch: Primary seam; even length yields professional results.
- Zigzag Stitch: Secures raw edges and prevents fraying.
- Reading Pattern Symbols: Grainlines, notches and seam allowances guide accurate cutting and assembly.
5. Adding Custom Details
Personal touches turn a plain pattern into a one-of-a-kind gown:
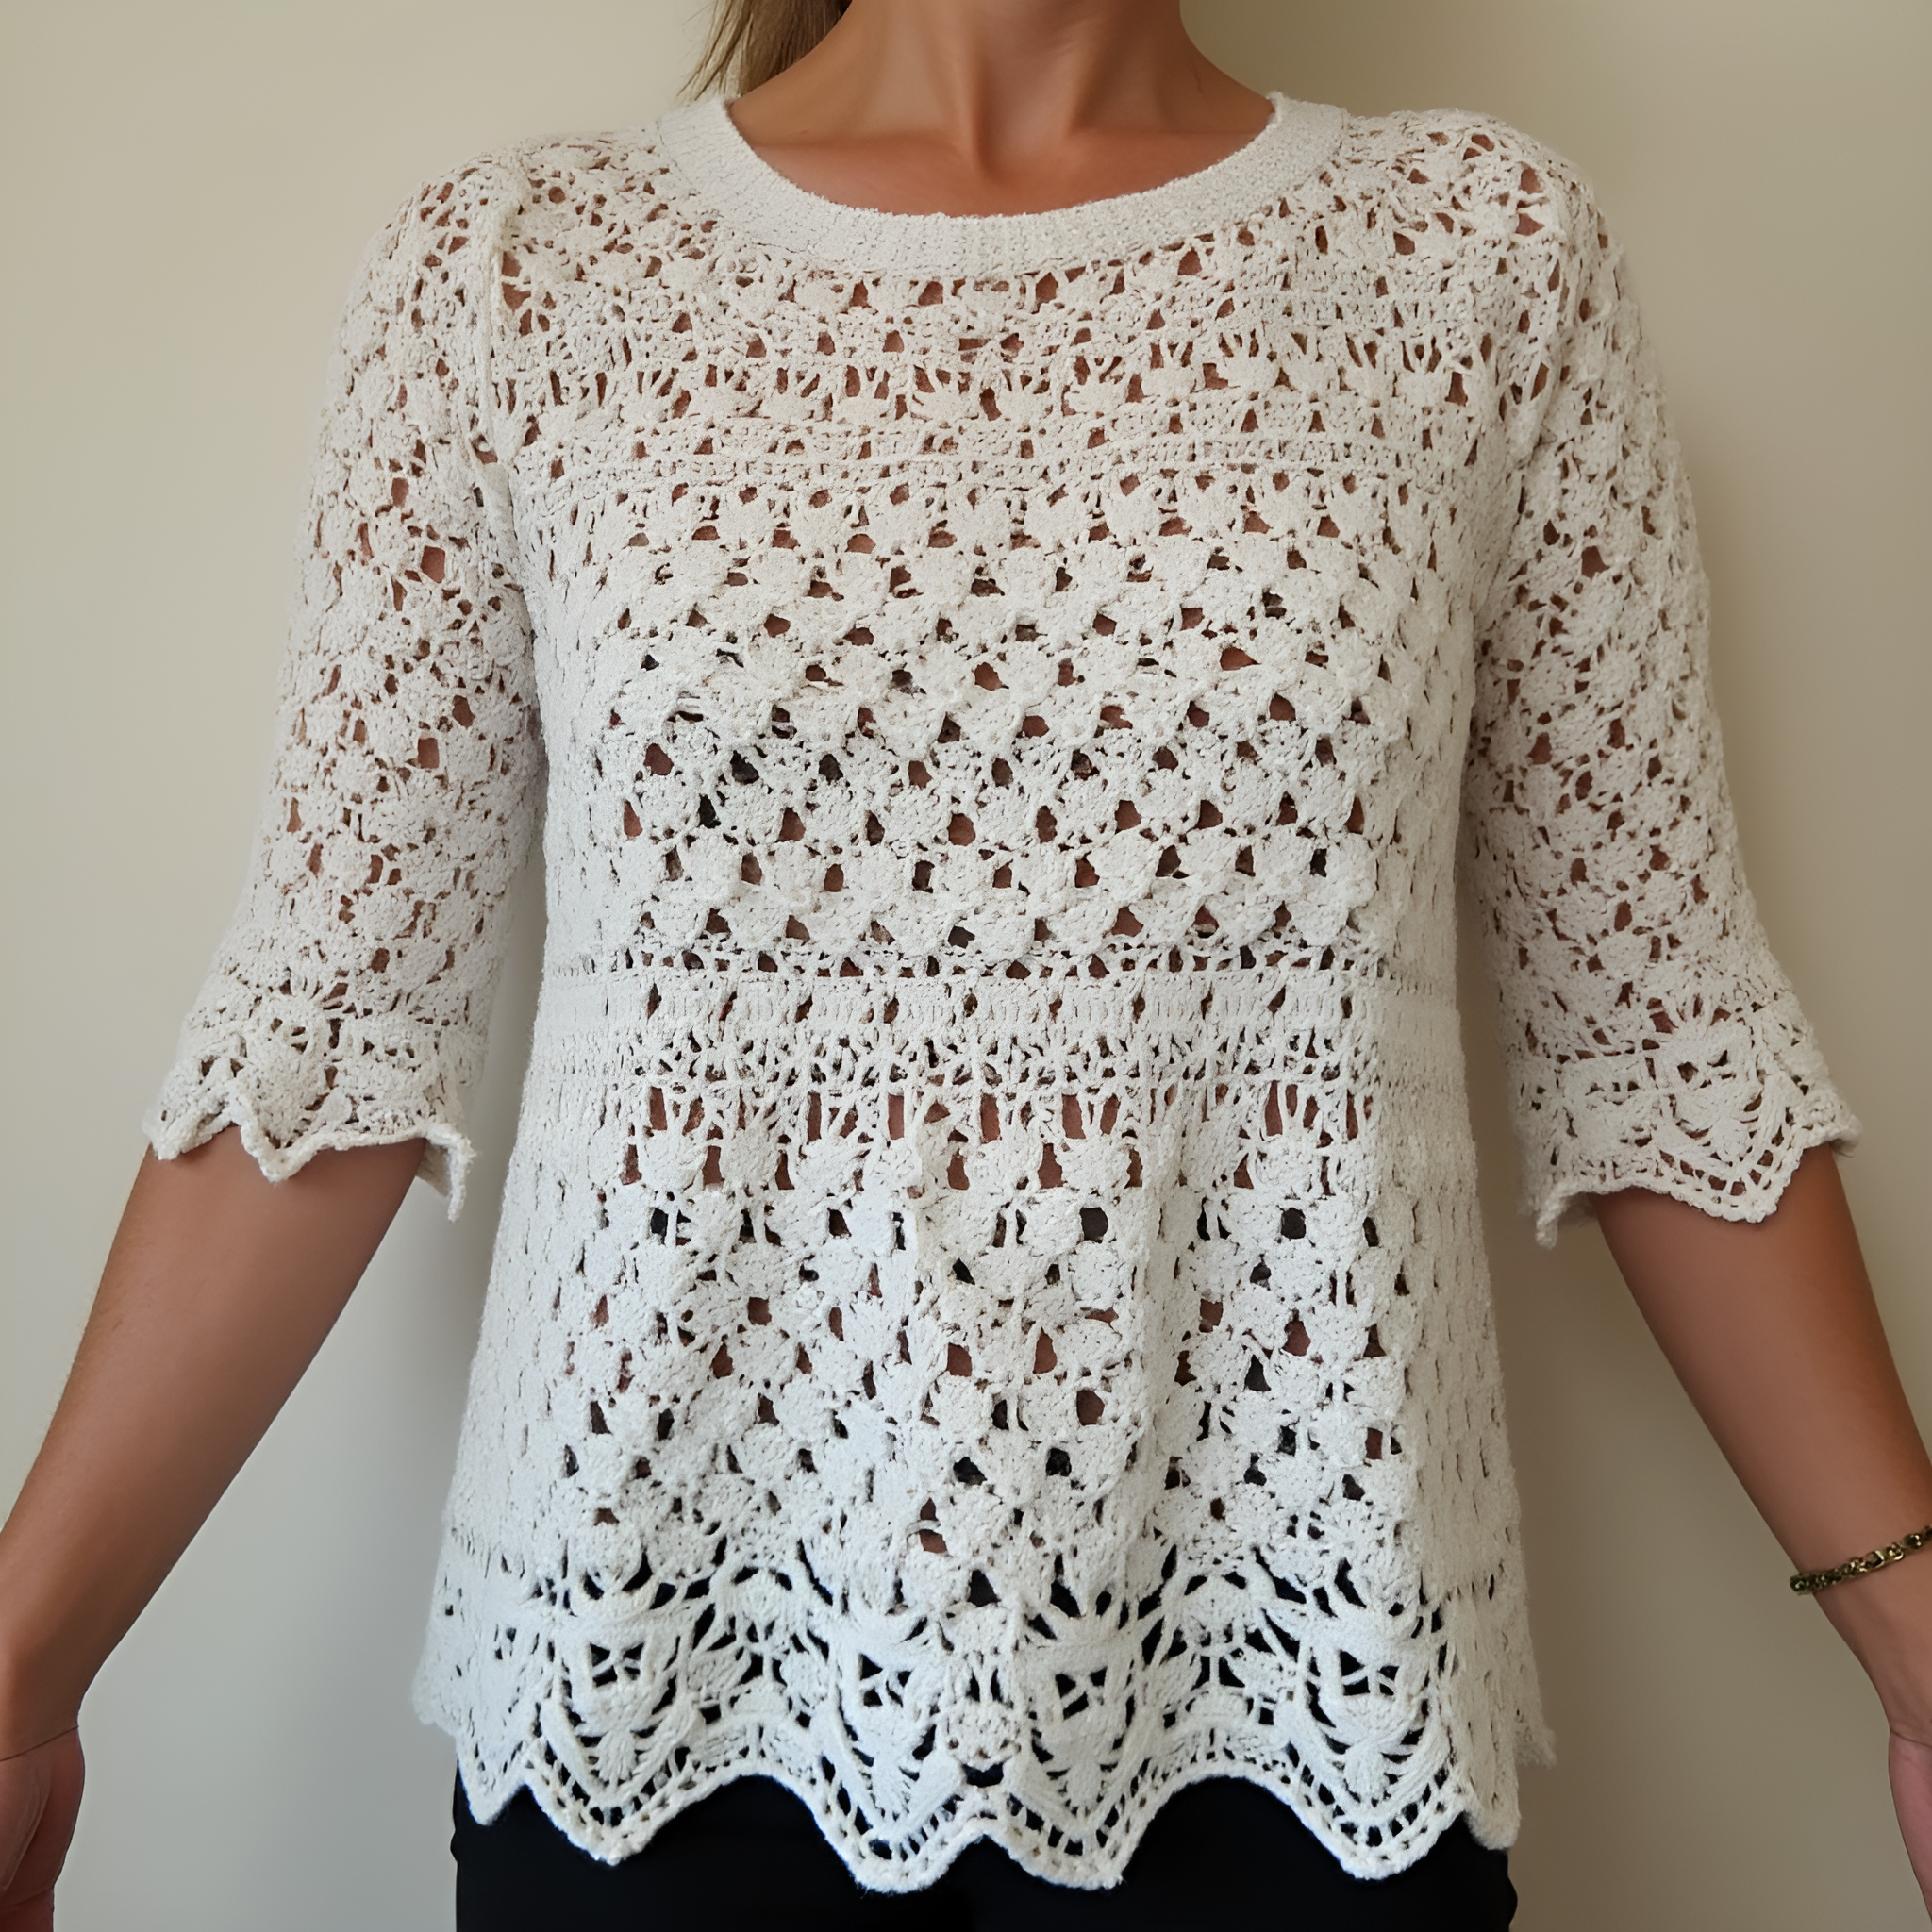
- Crochet Lace or Trim: Sew along sleeves, neckline or hem for vintage charm.
- Beading & Embroidery: Hand-stitch small motifs or initials inside the lining.
- Buttons & Ribbon: Functional closures can also be decorative accents.
6. Test Run & Adjustments
Before cutting your bridal fabric:
- Mock-Up (“Muslin”): Sew the pattern in inexpensive cotton.
- Fit Check: Adjust seams for bust, waist or hips.
- Pattern Tweaks: Mark any length changes or shape refinements directly on the mock-up.
Only then cut and sew the final fabric.
7. Quick Fixes for the Big Day
Prepare a small emergency kit with needles, thread, spare beads, scissors and safety pins. Common last-minute solutions:
- Snags/Rips: Use invisible thread or tiny whip-stitches.
- Loose Beads: Keep a few matching beads on hand.
- Stuck Zipper: Rub the teeth with a graphite pencil; in a pinch, a decorative pin can close a gap.
8. Inspiration for Simple Gowns
Even minimal designs can feel special:
- Clean Lines: A plain satin sheath with an unexpected back detail.
- Boho Lace: Add a lightweight lace overlay to a basic slip dress.
- Rustic Charm: Cotton or linen A-Line for an outdoor ceremony, paired with a detachable crochet shawl.
- Versatile Elements: Detachable skirts or trains let you switch from ceremony to reception in seconds.
9. Crochet Bridesmaid Dresses
A crochet bodice or trims can unify bridesmaid looks without matching fabric exactly. Consider:
- Crochet Yokes: Replace a fabric bodice with a lace-style crochet panel.
- Delicate Straps: Thin crochet straps on a simple skirt.
- Accessories: Coordinated crochet wraps or hairpieces for each attendant.
Conclusion
A DIY wedding dress journey combines creativity, hands-on learning and deep personal meaning. With a straightforward pattern, basic sewing skills and a few custom touches, you’ll craft a gown—and perhaps bridesmaid dresses—that capture your vision and become lasting treasures.
FAQ
What pattern should I pick as a total beginner?
Look for “easy” or “beginners” labels—A-Line and sheath styles have the fewest pieces.
Which fabric is easiest to start with?
Cotton or mid-weight satin—they’re stable under the needle and forgiving for practice.
How do I know my dress will fit?
Make a mock-up in cheap fabric, fit it thoroughly, then transfer adjustments to your final fabric.
Can I add crochet even if I’ve never crocheted before?
Yes—simple lace patterns or trims can be learned quickly from online tutorials or local classes.
How do I keep my dress in good shape all day?
Bring a small sewing kit and safety pins for quick fixes like snags or loose beads.