Skip to content
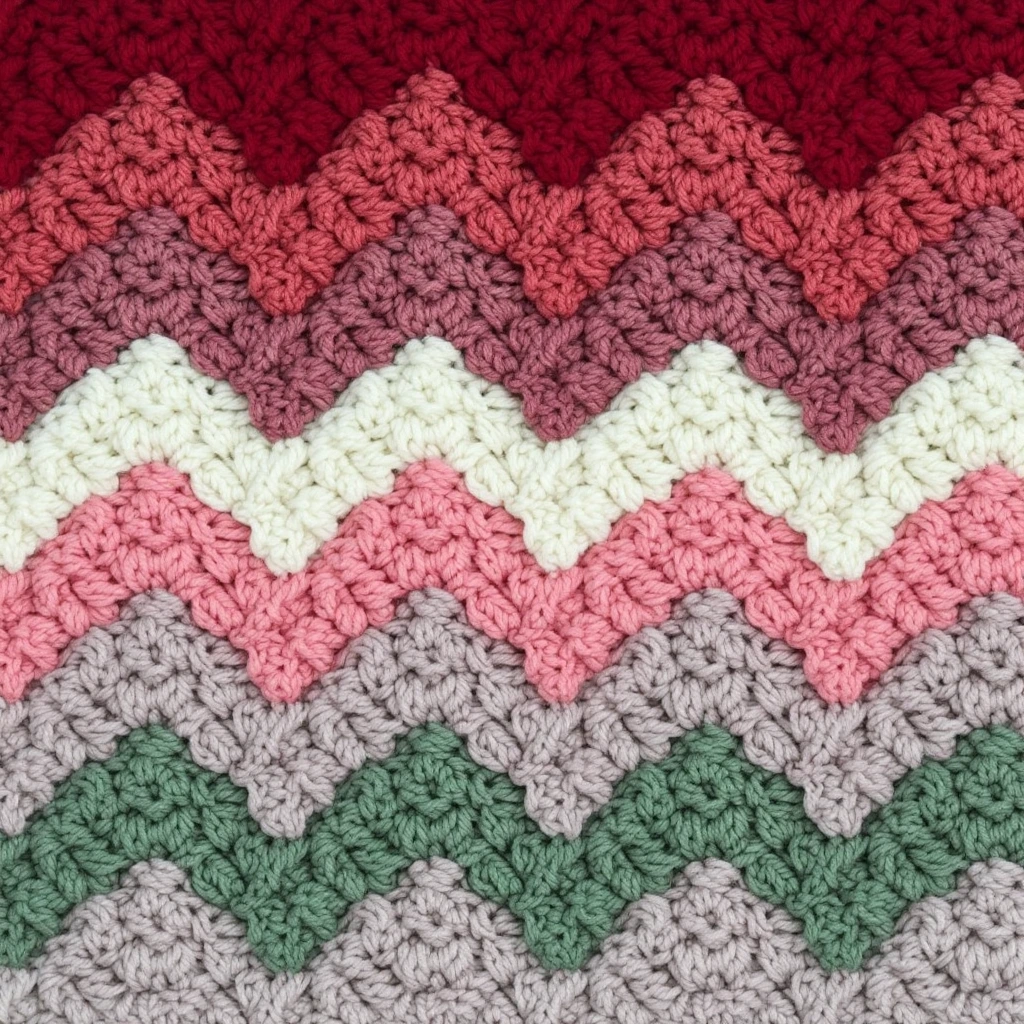
Create a stylish and cozy crochet chevron blanket with this beginner-friendly pattern. The zigzag design is achieved using simple double crochet stitches and decreases, making it perfect for crocheters of all skill levels. Follow these clear, step-by-step instructions to craft a beautiful blanket in your favorite colors.
Materials Needed
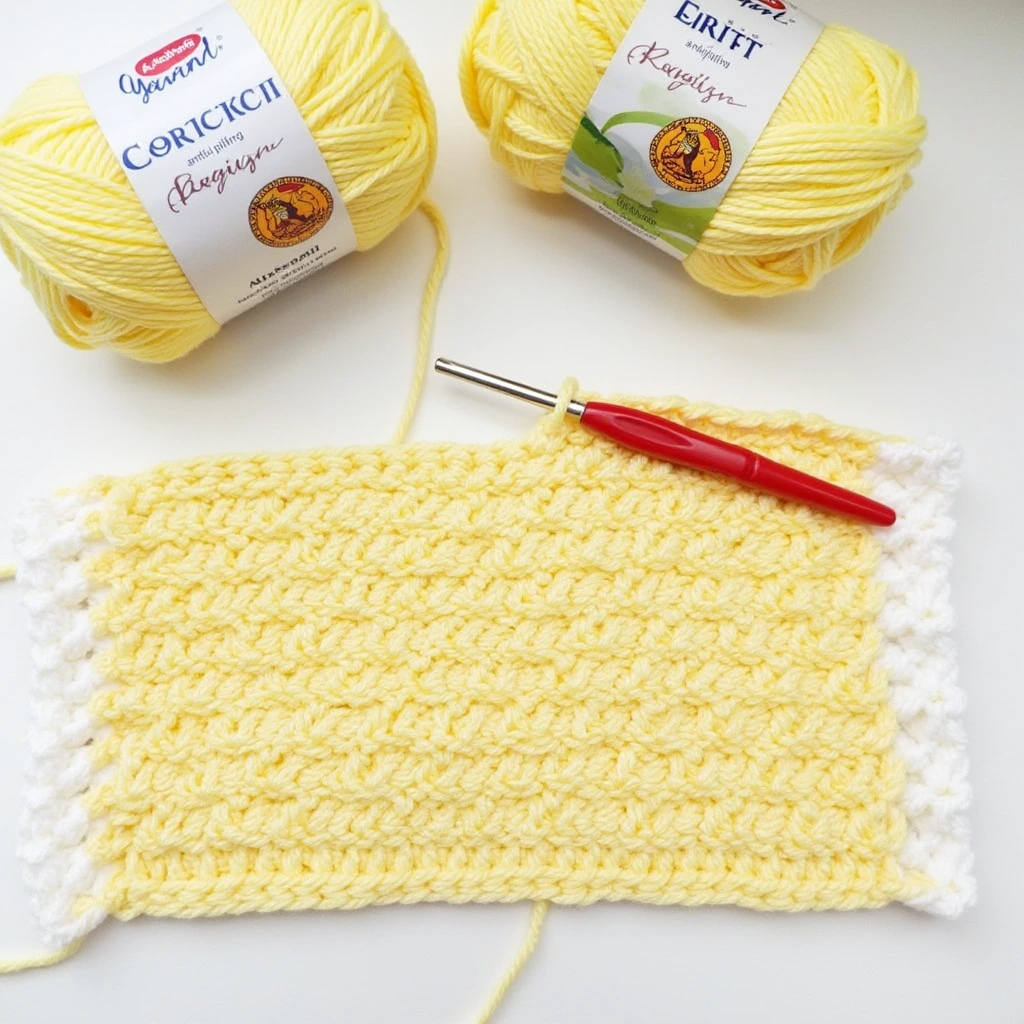
- Yarn: Worsted weight yarn (wool, cotton, or acrylic) in at least two colors (e.g., 3 skeins of Color A, 3 skeins of Color B).
- Crochet Hook: Size recommended on yarn label (typically 5mm/H or 5.5mm/I).
- Scissors
- Tapestry Needle: For weaving in ends.
- Optional: Stitch markers to track pattern repeats.
Finished Size
- Single Bed Blanket: Approximately 40” x 60” (adjustable).
- Gauge: 14 double crochets = 4” (not critical, but check to ensure yarn and hook match).
Pattern Notes
- This pattern uses US crochet terms.
- The chevron pattern is created by alternating increases (3 double crochets in one stitch) and decreases (skipping stitches).
- Change colors every 2 rows for a classic look, or customize as desired.
- To adjust size, chain a multiple of 12 + 2 (e.g., 170 + 2 = 172 for a smaller blanket, or 206 + 2 = 208 for a larger one).
Instructions
Step 1: Foundation Chain
- With Color A, chain 174.
- Tip: Keep chains loose to avoid a tight edge. Use a hook one size larger if needed.
Step 2: Row 1 – Set Up Chevron Pattern
- Stitch Key:
- dc = double crochet
- dc3tog = double crochet 3 together (decrease: yarn over, insert hook, pull up loop, yarn over, pull through 2 loops, repeat 2 more times, yarn over, pull through all 4 loops)
- In the 4th chain from hook, work 2 dc (counts as 3 dc).
- Skip 1 chain, 3 dc in next chain repeat 4 times.
- Skip 1 chain, dc3tog over next 3 chains (valley of chevron).
- Skip 1 chain, 3 dc in next chain repeat 5 times.
- Skip 1 chain, dc3tog over next 3 chains.
- Repeat this pattern across the row, ending with 2 dc in the last chain.
- Total: 14 chevron peaks (7 up, 7 down).
- Turn your work.
Step 3: Row 2 – Continue Pattern
- Chain 3 (counts as 1 dc).
- 2 dc in first stitch.
- Skip 1 stitch, 3 dc in next stitch repeat 4 times.
- Skip 1 stitch, dc3tog over next 3 stitches.
- Skip 1 stitch, 3 dc in next stitch repeat 5 times.
- Skip 1 stitch, dc3tog over next 3 stitches.
- Repeat across, ending with 2 dc in the top of the chain-3 from previous row.
- Turn your work.
Step 4: Color Changes and Repeats
- Rows 3–4: Switch to Color B at the end of Row 2 (carry yarn up the side or cut and weave in ends). Repeat Row 2.
- Rows 5–6: Switch back to Color A. Repeat Row 2.
- Continue alternating colors every 2 rows, repeating Row 2 until the blanket reaches 60” or your desired length (approximately 80–100 rows, depending on tension).
Step 5: Finishing
- Fasten Off: After the final row, cut yarn, leaving a 6” tail. Pull tail through the last loop to secure.
- Weave in Ends: Use a tapestry needle to weave all loose ends into the back of the blanket.
- Optional Border:
- Join Color A or B at any corner.
- Chain 1, single crochet evenly around all edges (work 3 sc in each corner to keep it square).
- Join with a slip stitch, fasten off, and weave in ends.
Tips for Success
- Count Stitches: Ensure each chevron peak and valley is consistent to maintain the zigzag shape.
- Tension: Keep tension even for a uniform look. Practice the pattern with a small swatch if needed.
- Customization: Experiment with more colors or wider stripes (e.g., 4 rows per color).
- Care: Check yarn label for washing instructions (most acrylics are machine-washable; wool may need hand-washing).
Enjoy Your Blanket!
This chevron blanket is a timeless addition to any home, perfect for cozy nights or as a thoughtful handmade gift. Share your creation on social media with #ChevronBlanketLove!